Settings
The settings page enables you to manage the settings of your account with Motific.ai.
To navigate to settings page, click on the Settings menu on the lower-left corner of the navigation bar.

Add a user
-
To add a user, click the Add User button.
-
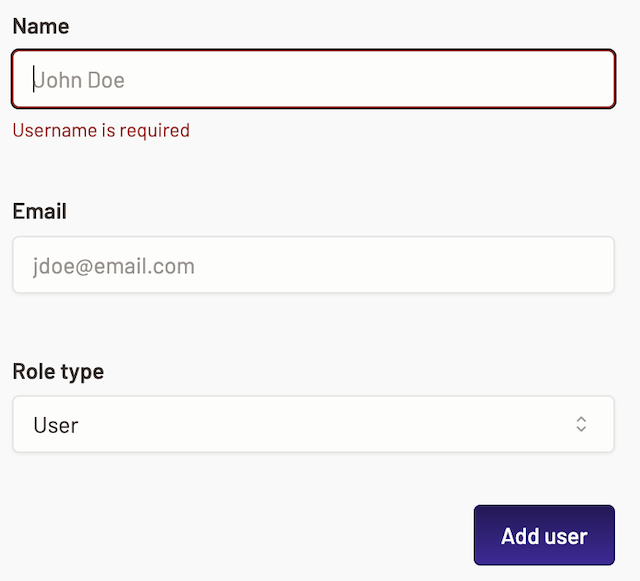
Enter the name and email of the user you want to add.

-
Select the role that you want to assign the user from the drop down:
- User: A user with this role only has access to Motific.ai Chat assistant UI.
- Admin: An admin role gives full access to Motific.ai. This role has the permission to create, update, or delete a Motif, Policies, model connections and add other users etc.
-
Review the details.
-
To the add user click the Add User button.
- The status of the user is updated periodically. The user can login once they are added.
- The user can then access the Motific.ai user interface and create an account or log in with an existing account. After logging in, they will be allowed to choose your tenant from the tenant selection screen.
- The user must select the tenant they want access to.
- Depending on the role of the user, they can access specific Motific.ai features.
Finding your tenant ID
To locate your tenant, please navigate to the settings page and click on the Settings menu located in the lower-left corner of the navigation bar.

Now, at the top of the page, you will find your tenant ID. This ID can be used when making API calls.
Delete a user
-
To delete a user, click the
 button situated at the end of the user’s name.
 -
A confirmation screen opens up cautioning you that deleting a user is irreversible and you are asked to type in the word
DELETEin the field provided for confirmation. The word should match the word presented for the delete button to be active. -
To delete the user, click Delete. Once you delete the user you cannot see the user on the list.