Update Motifs
Update Motifs
The Motif that you created can be viewed in the Motifs page. The Motifs are in the list view.
-
To update a Motif, click on Motif name or alternatively click on the overflow menu (three dots) at the end of the Motif card view or in the Actions column of the list view.

-
Select the Edit option.You are taken to the Motif details tab.
-
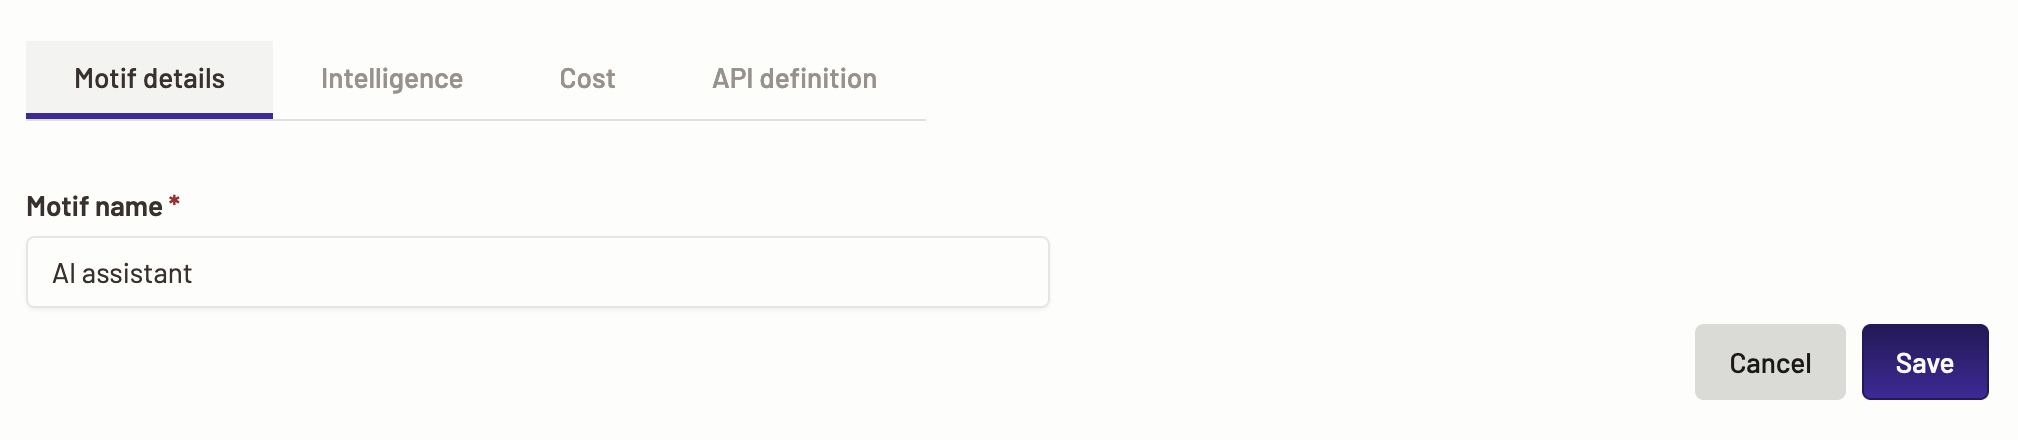
Here you can view the previously configured Motif details.
- Edit Motif name- Click on the Edit button to edit a Motif name.

- Once you are done editing the name, click the Save button.
- Edit Motif name- Click on the Edit button to edit a Motif name.
-
Next, you can edit the model connections.
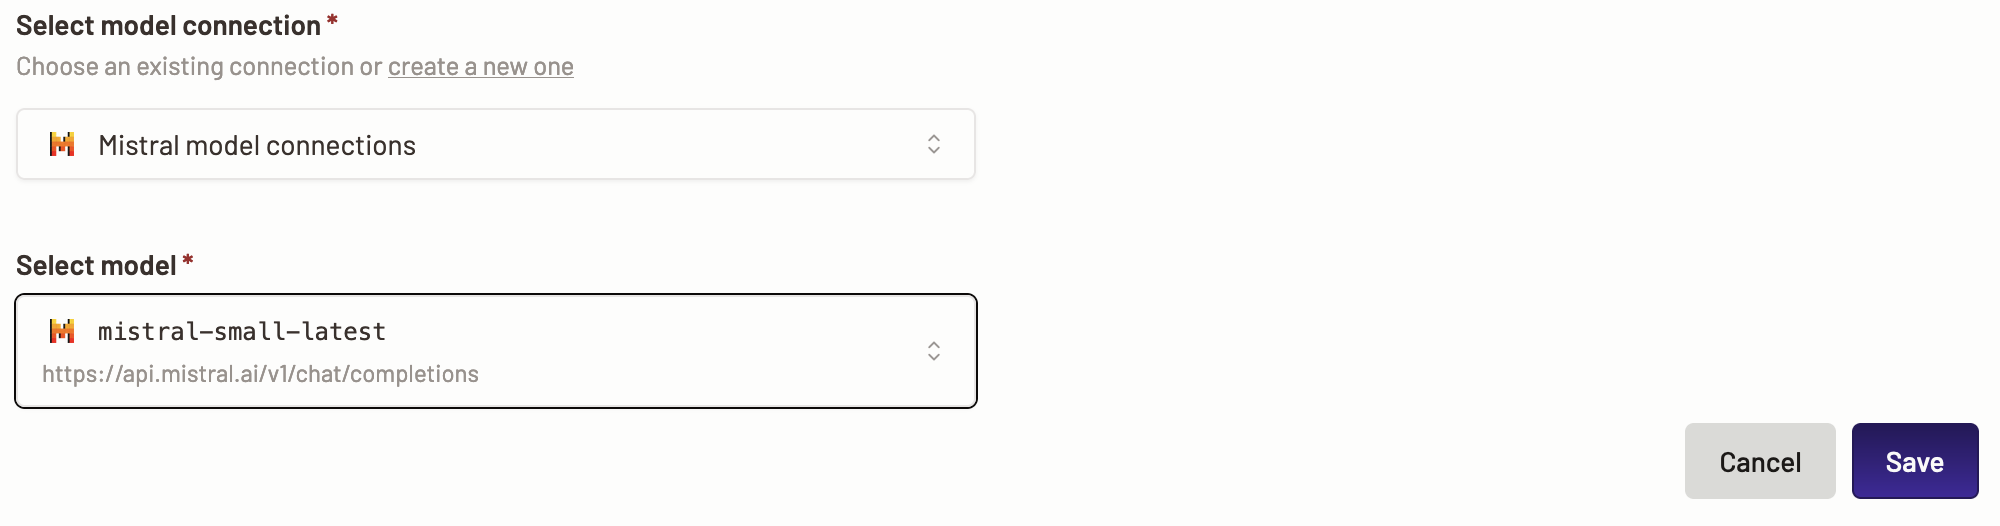
- Edit model connection- Click on the Edit button to edit a model connection.
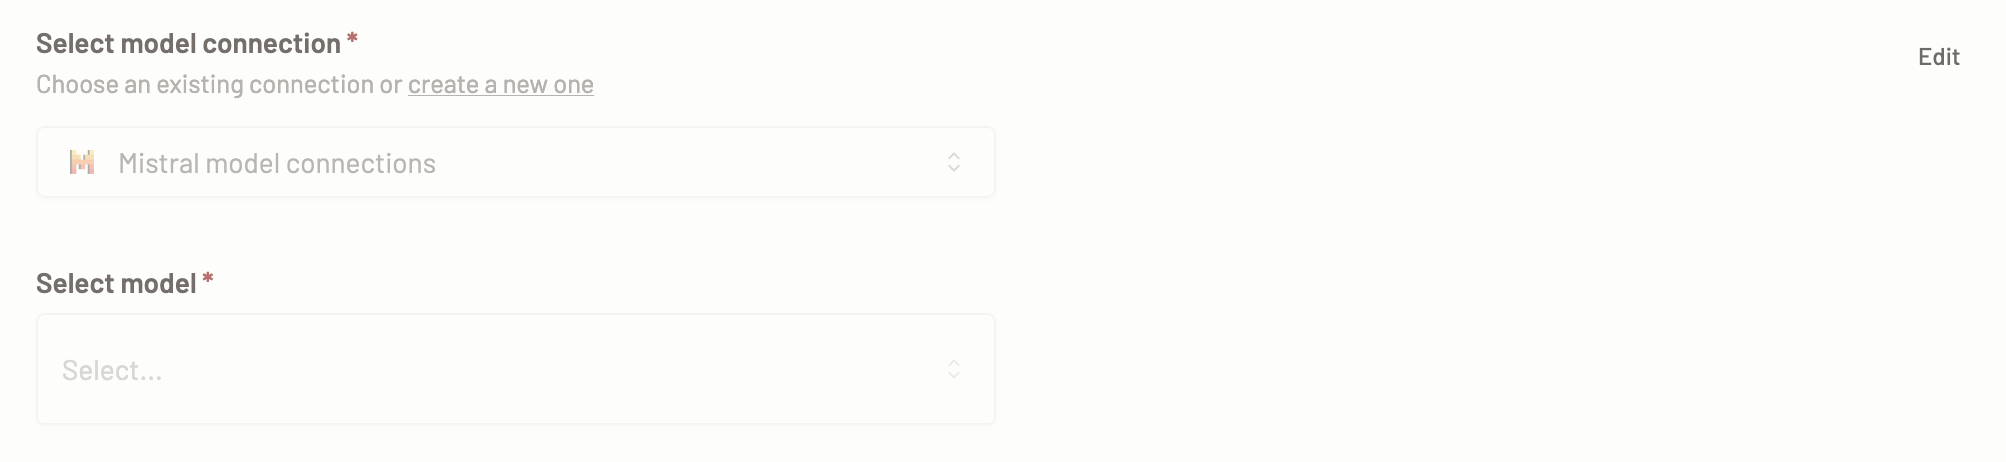
- You can edit the model connection, model, or create a new model connection. Click the Save button to save the update.
- Edit model connection- Click on the Edit button to edit a model connection.
-
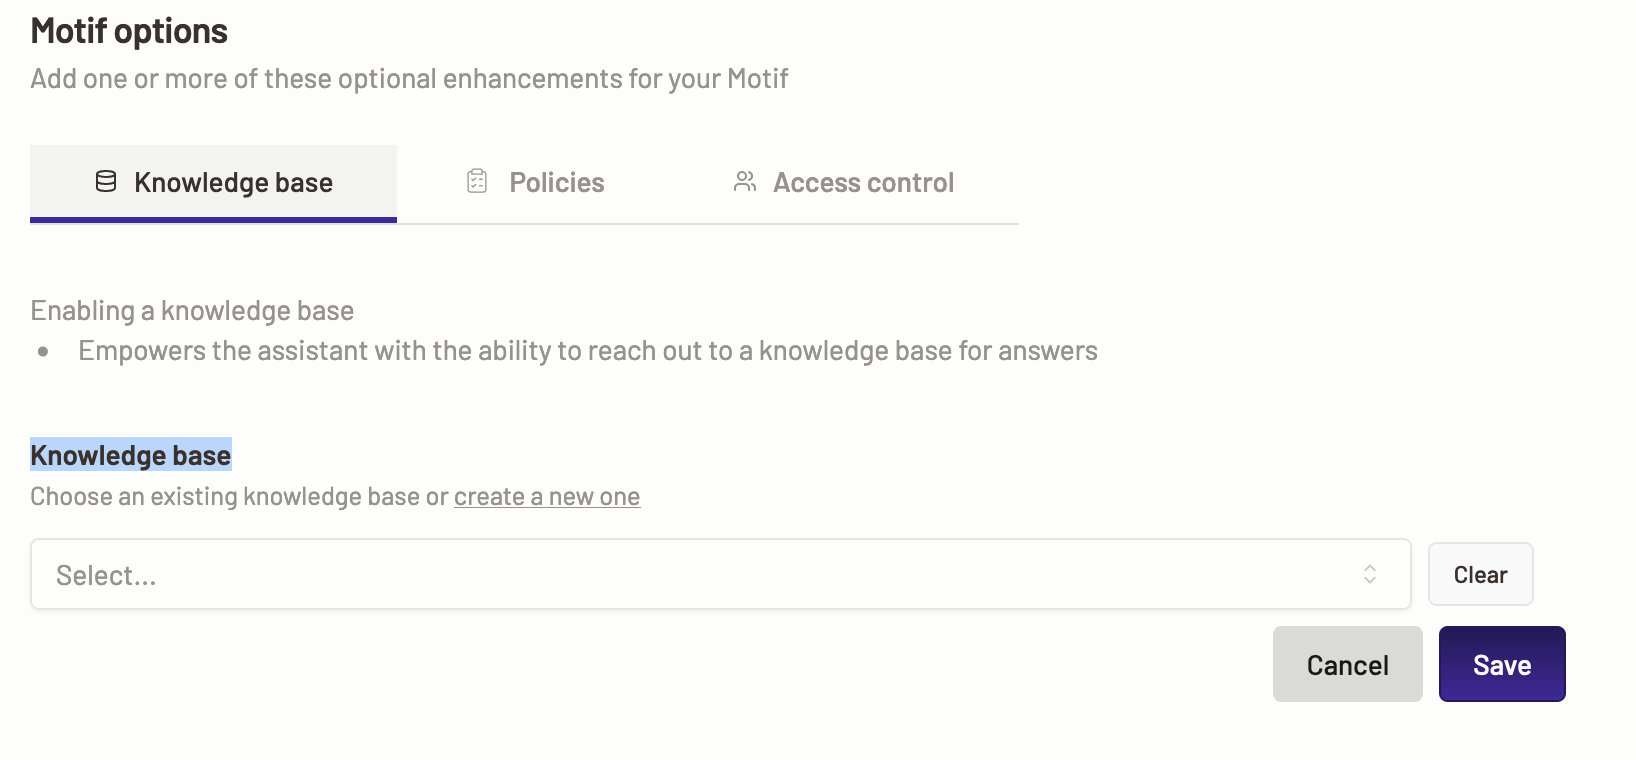
Next, you can edit knowledge base.
- Edit knowledge base- Click on the Edit button to edit a knowledge base.
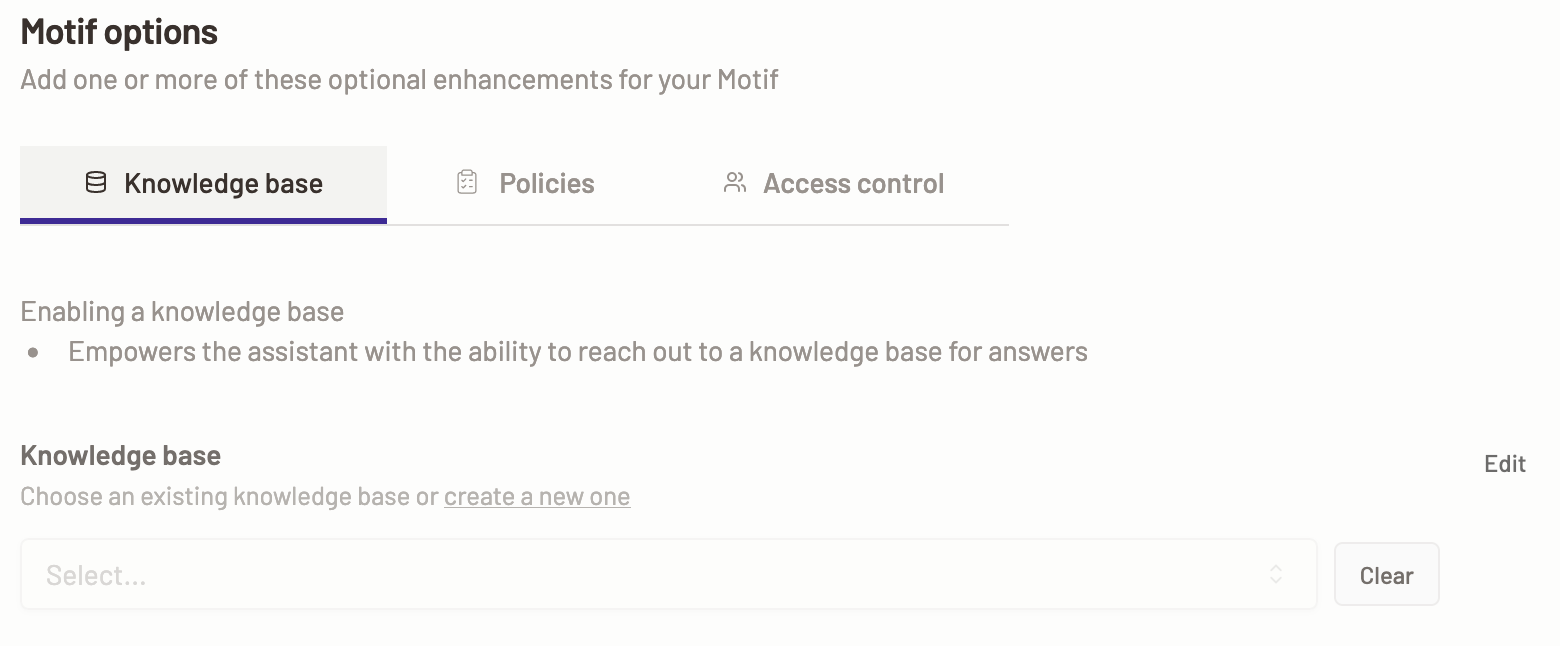
- You can choose a different knowledge base or create a new knowledge base. Click the Save button to save the update.
- Edit knowledge base- Click on the Edit button to edit a knowledge base.
-
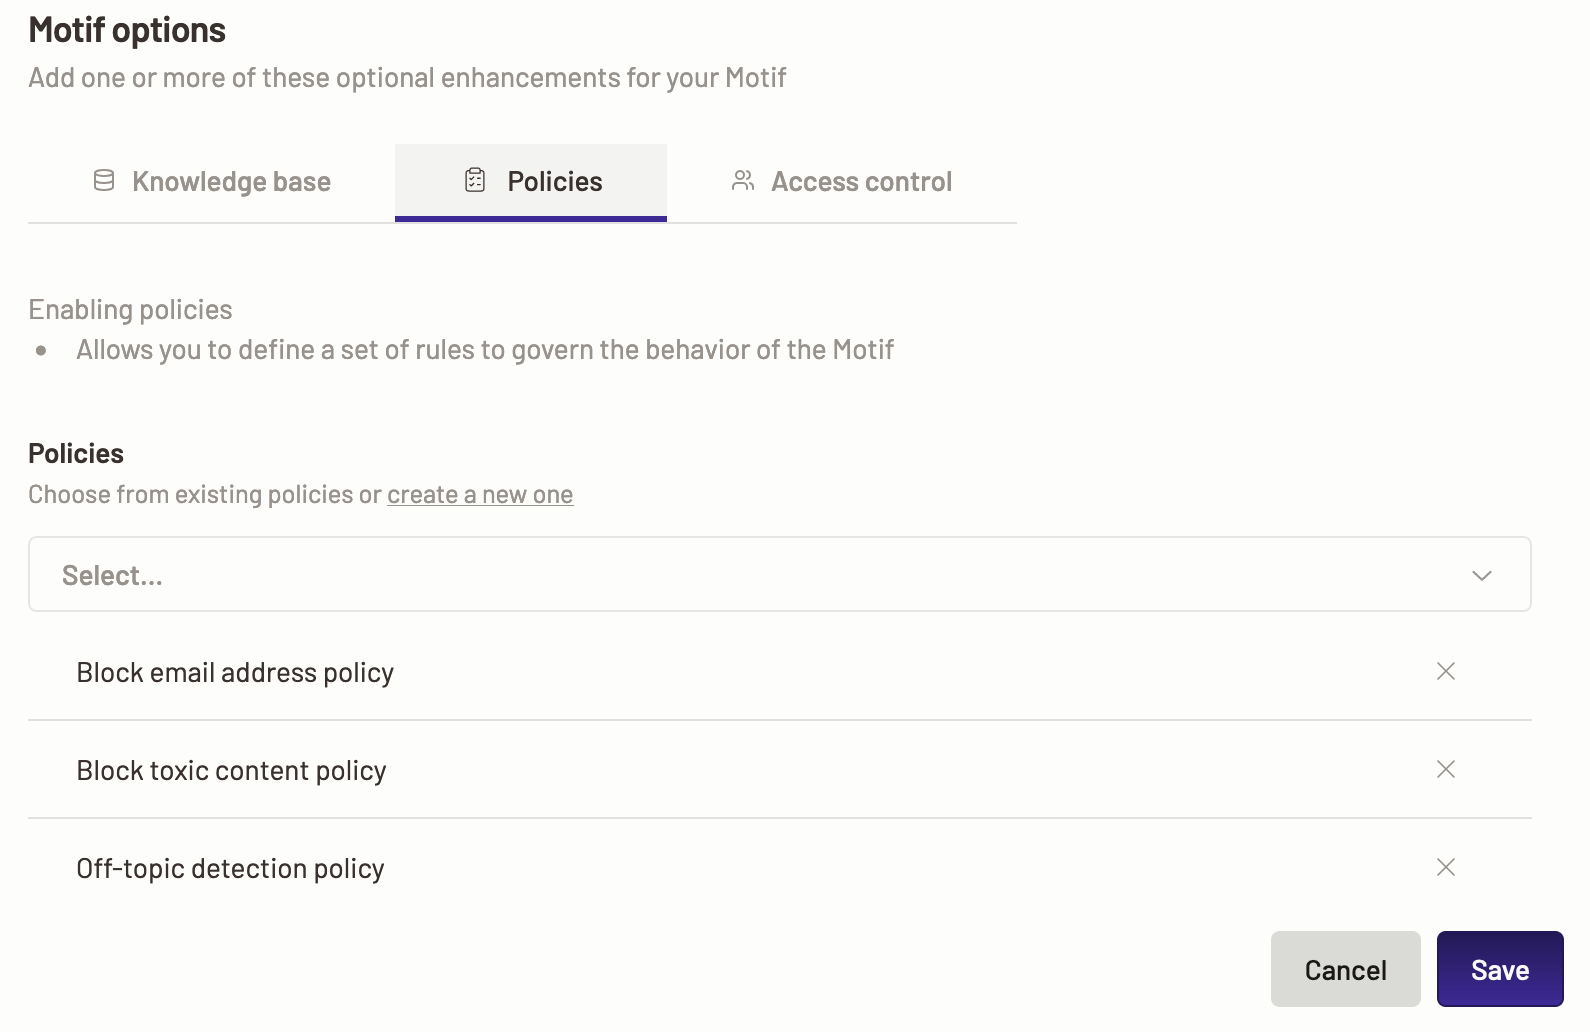
Next, you can edit policies.
- Edit policies- Click on the Edit button to edit a policies.
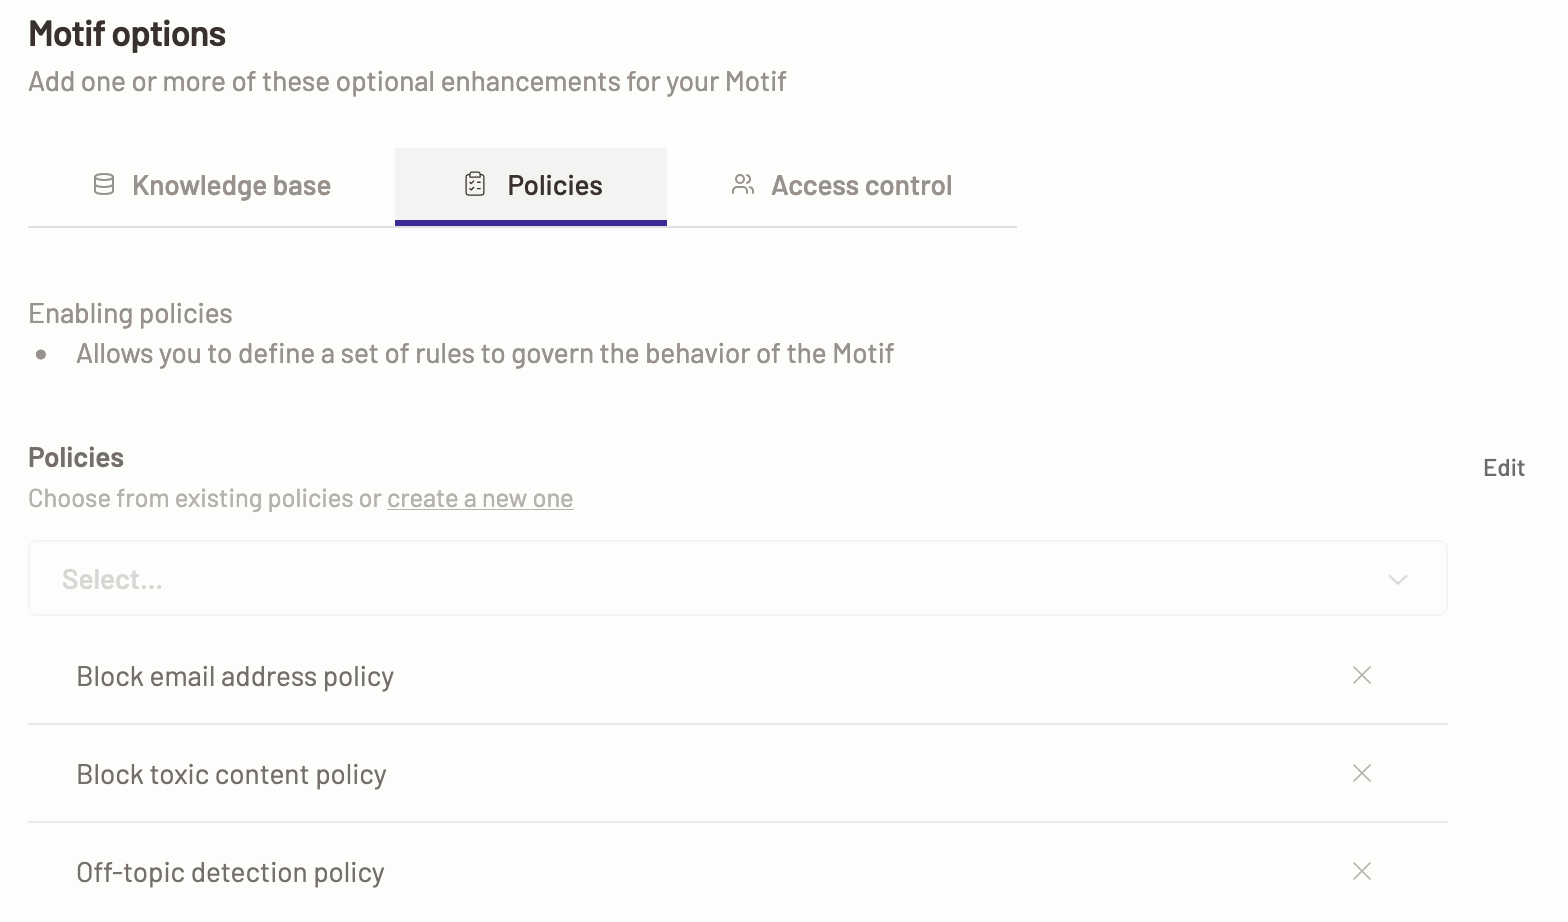
- You can choose different policies or create new policies to choose. Click the Save button to save the update.
- Edit policies- Click on the Edit button to edit a policies.
-
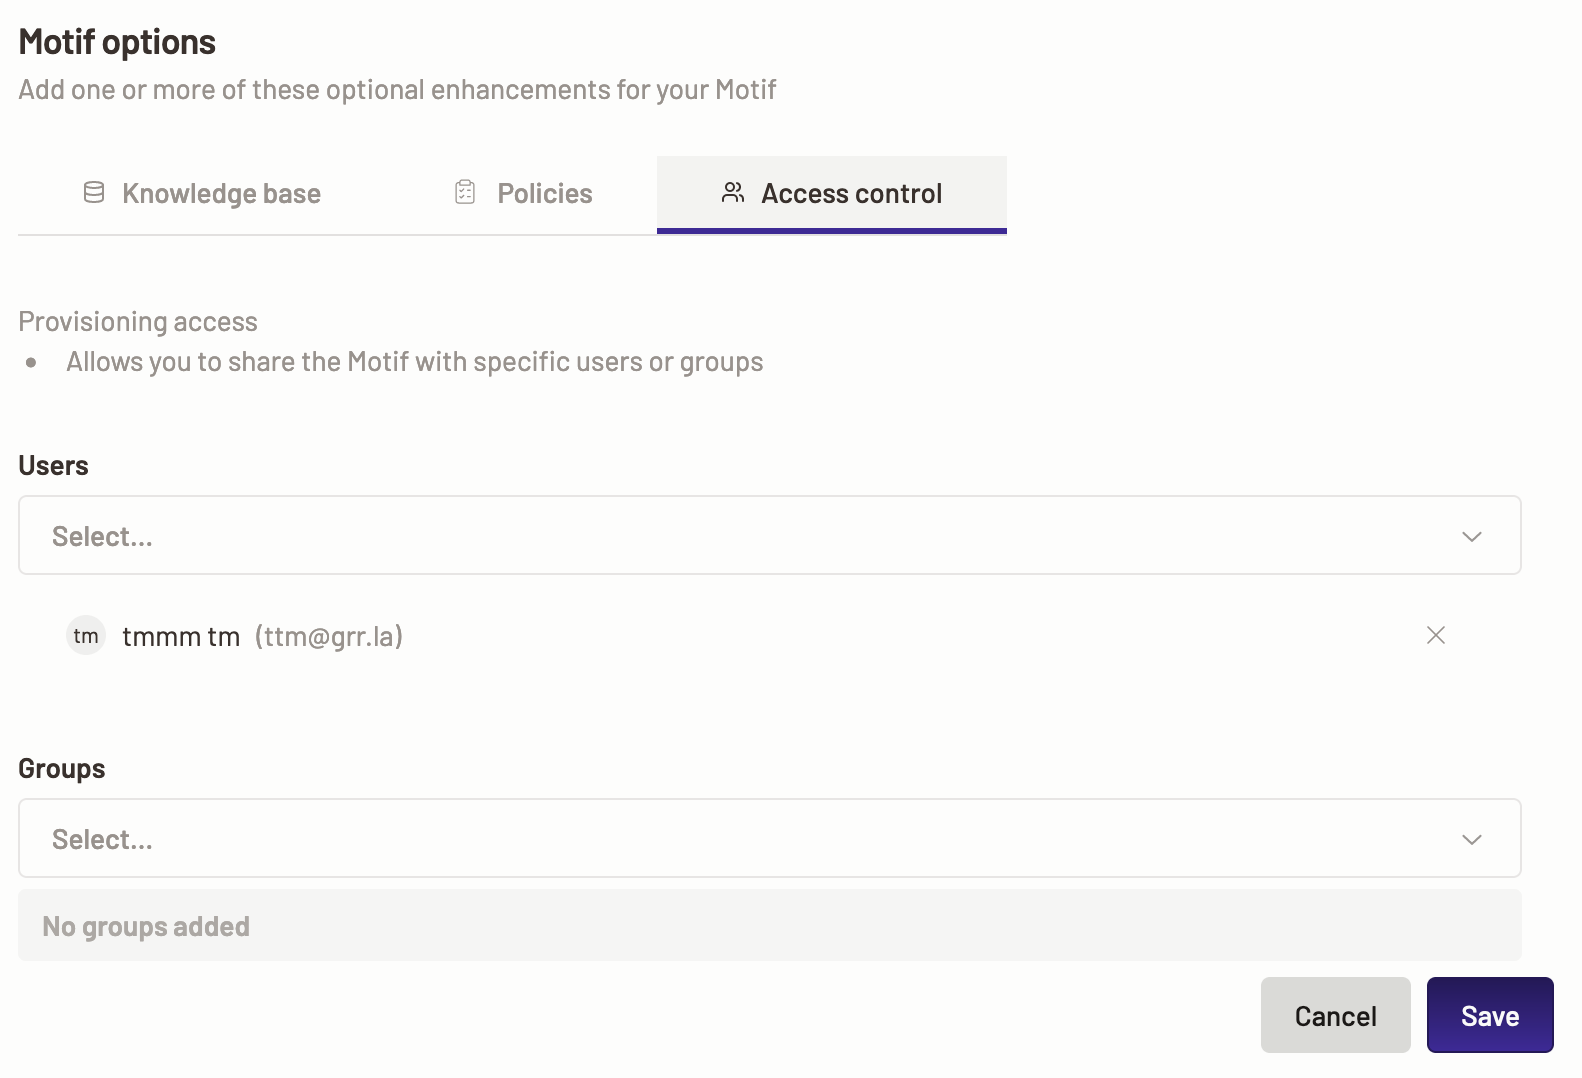
Next, you can edit users or user groups.
- Edit users or user groups- Click on the Edit button icon to edit a users or user groups.
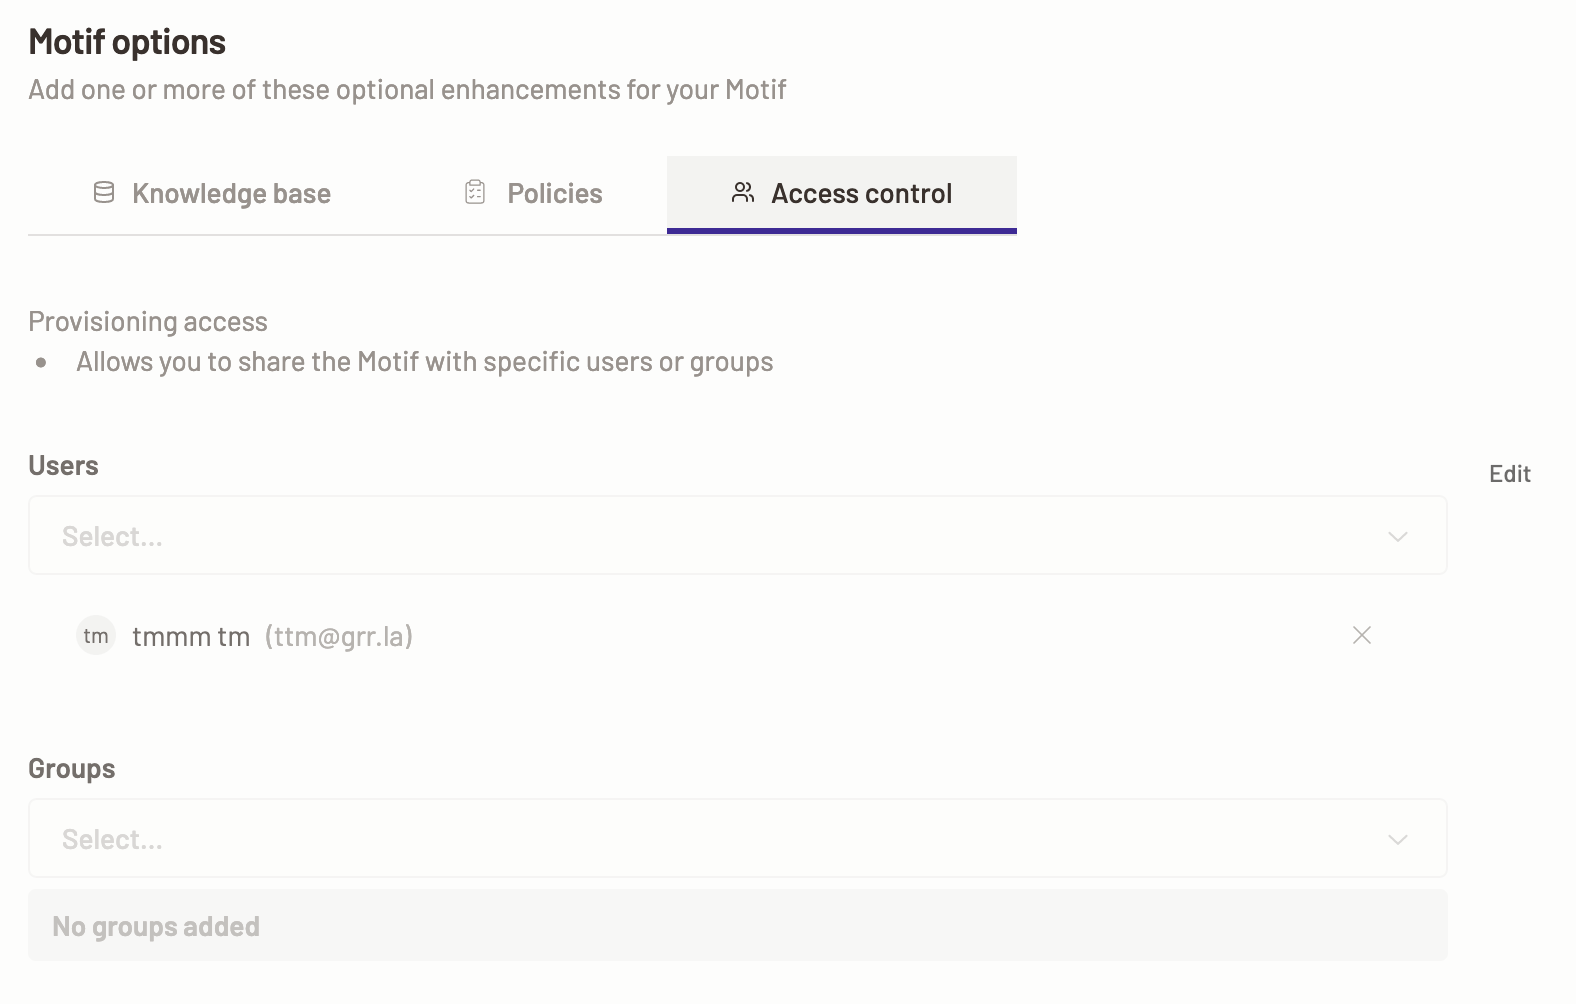
- You can choose different users or user groups. You can also remove the current users and groups from having the access to the Motif. Click the Save button to save the update.
- Edit users or user groups- Click on the Edit button icon to edit a users or user groups.